Online
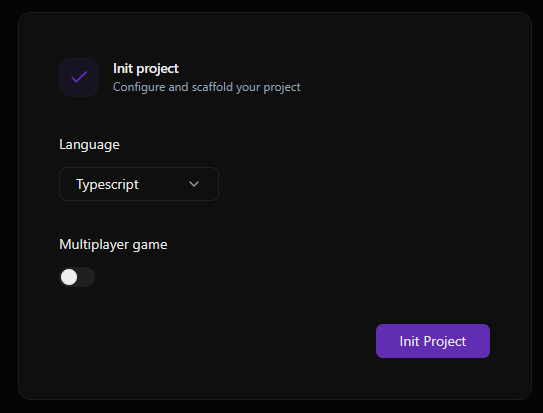
Create a project from the Project Dashboard. Click New project and fill in the project information.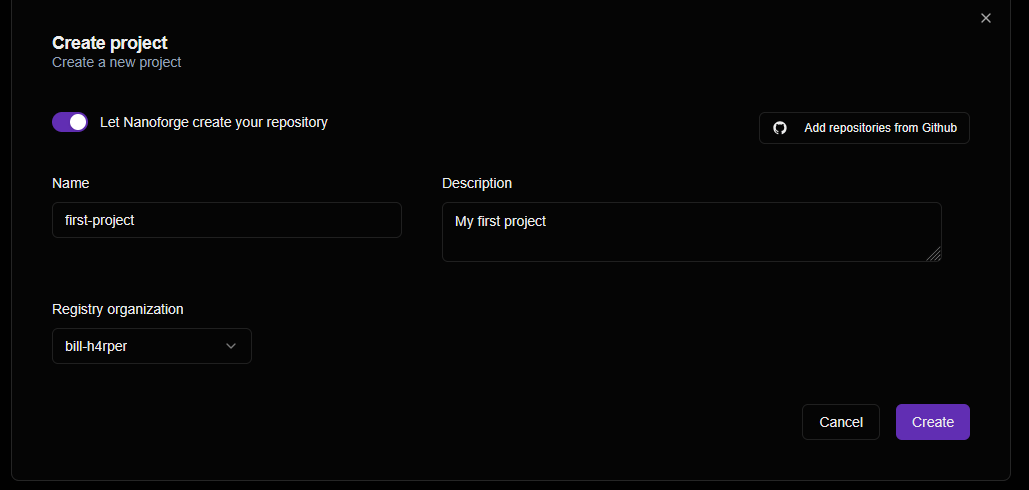
On your machine
With the NanoForge CLI:nf editor without a path opens the list of recent projects. The first time a folder is opened, the editor asks whether you trust it. A trusted folder’s code runs on your computer: its nanoforge.config.ts, its plugins, its builds and games, its Prettier and its Git hooks. Open in restricted mode keeps all of that off: you can read and edit the project, and Trust this folder (in the notification, or the command palette) turns it on later. Projects you create with New project are trusted. A local editor works on the folder itself: what you change in the editor is on your disk at once, and what you change on disk shows in the editor.
A local editor can do what a hosted one cannot: run the game, use Git with your own credentials, and install plugins and packages.
On a computer other people use too, an editor started directly from its build (EDITOR_TOKEN=random pnpm start in apps/editor of the editor repository) answers only to the link it prints when it starts (it ends with ?token=…), so the others can’t reach your projects through its port. Don’t set it with nf editor: the browser it opens has no token, and the editor refuses it. The browser keeps the token in a cookie, which it also sends to the other local ports of the computer: any server listening on one of them, another user’s too, gets it when this browser visits it.
The tutorial
New to the editor? Its home page offers Start the tutorial (and Help › Tutorial plays it again at any time). A local editor makes a small game,my-first-game, in the folder it works on: an orange ball that should bounce, and one mistake that keeps it still. A tour then walks you through the editor while you fix it: the screens, adding an entity, changing a value, fixing the mistake from Problems, playing the game, looking into it with World, and a first Git commit.
In a hosted editor, open one of your projects first: Help › Tutorial shows the screens, adding an entity, changing a value and editing the code.
The editor
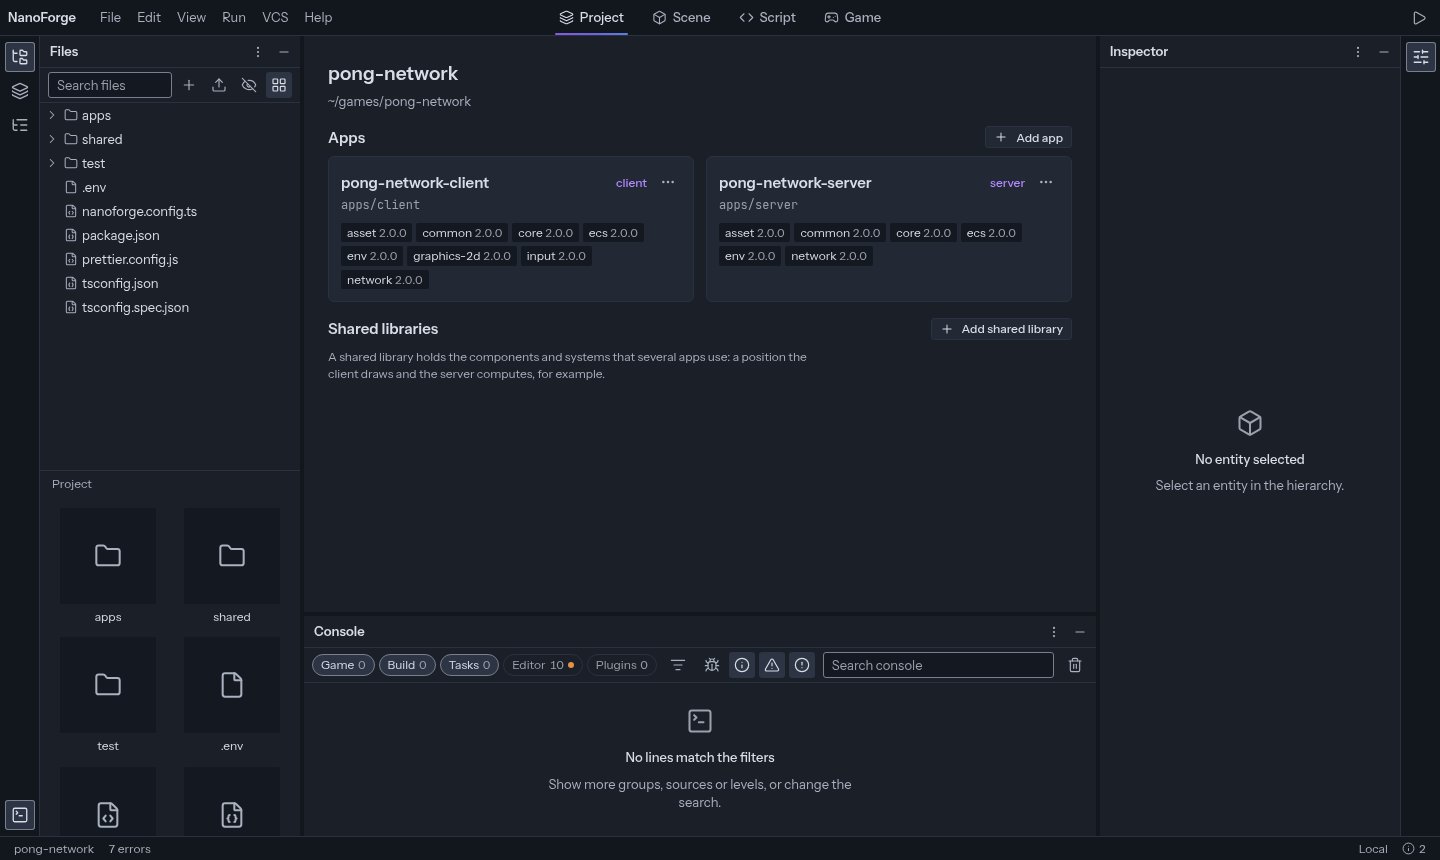
- Top: the menu bar, the four main screens (Project, Scene, Script, Game), and the Play button.
- Left: Files, the Hierarchy of entities and, for games made of scenes, Scenes.
- Right: the Inspector.
- Bottom: the Console.
- Status bar: the project, the count of problems, the Git branch, and the game’s speed while it plays.
Next
- Open the Scene screen and select an entity in the Hierarchy: its components show in the Inspector. See Entities.
- Press Play (
F5). See Play the game. - Open
apps/client/src/main.tsfrom Files. See Code editor.